
Submitted ByEdit Dates
Date Uploaded: November 3, 2015, 3:55 pm Last Edited: November 4, 2015, 1:36 pm |
 Add to Add toSite Favourites Print this Article |
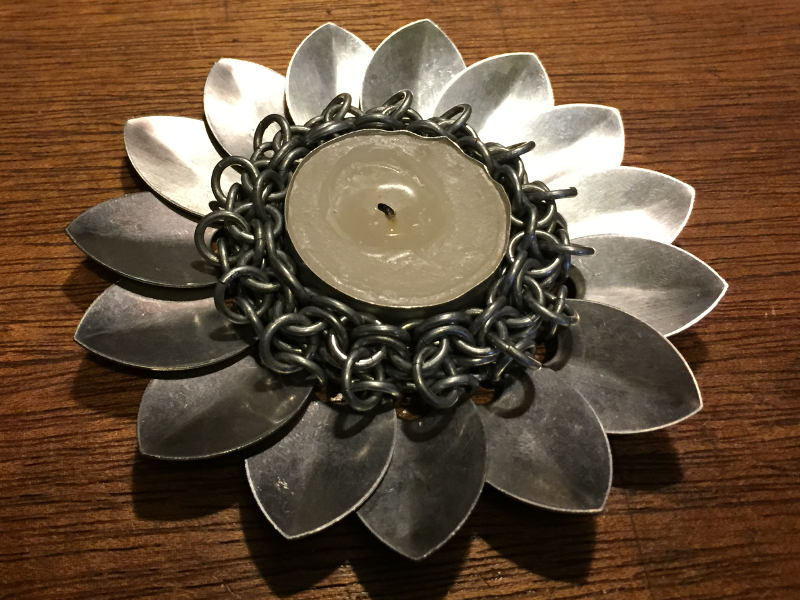
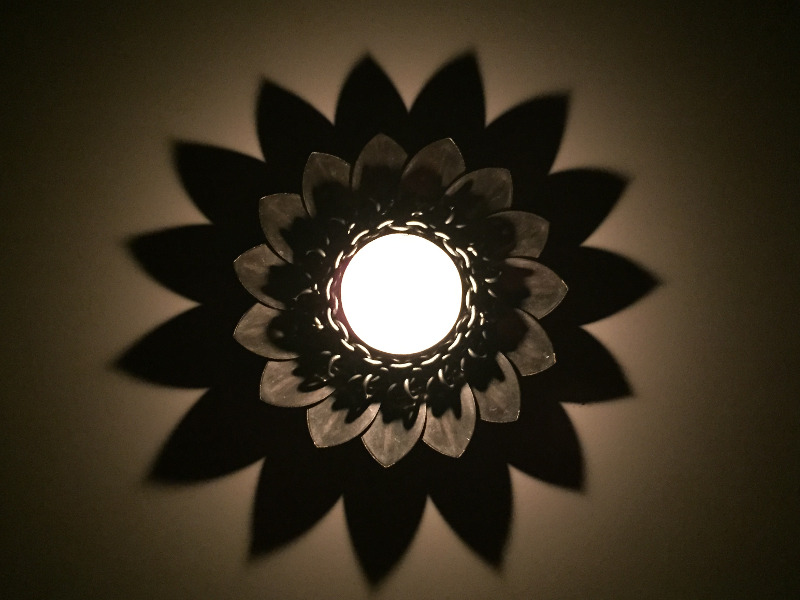
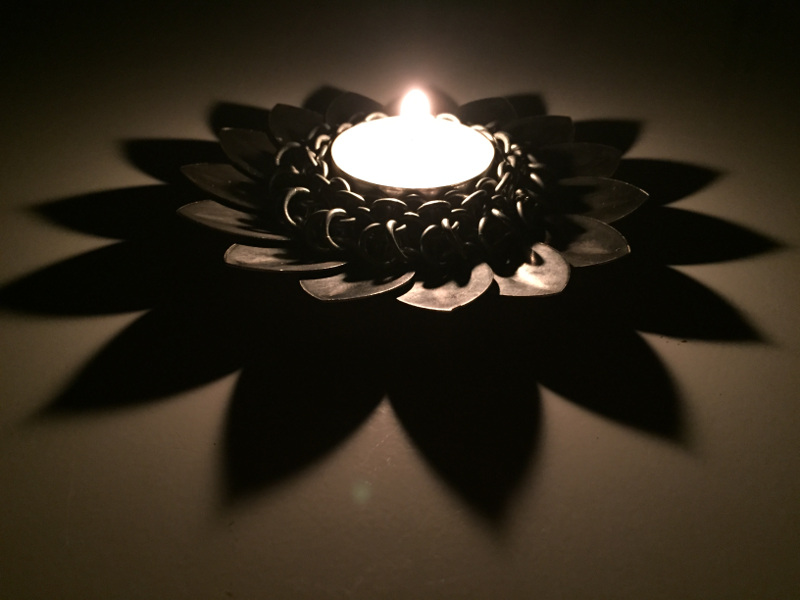
Shaggy Candle Skirts
Article © MAIL User: Levi
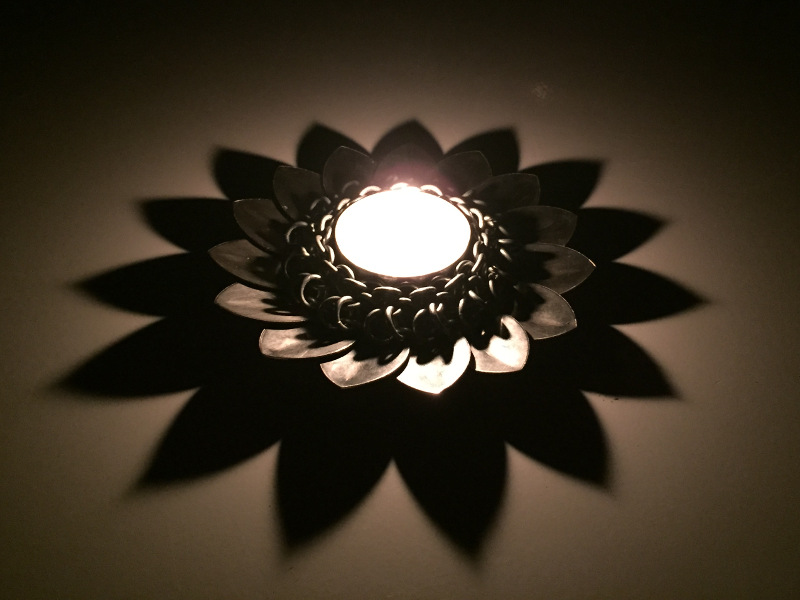
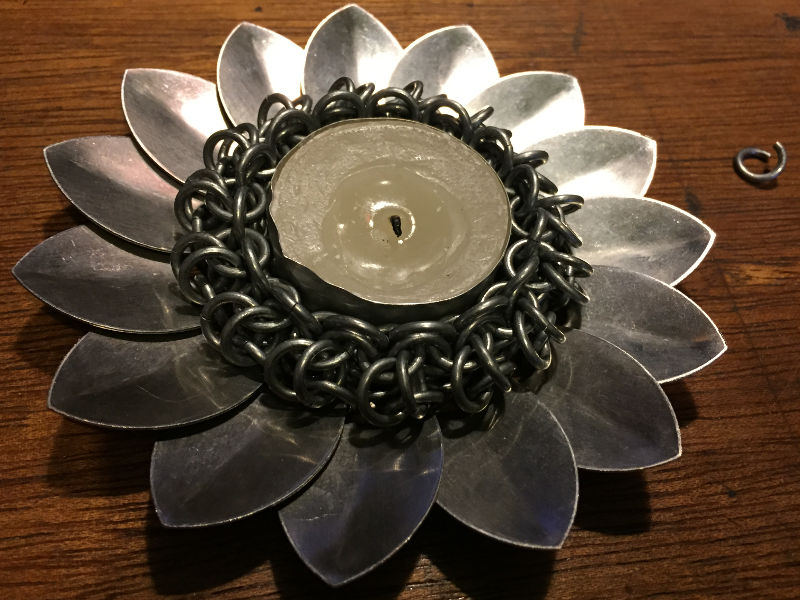
These little votive candle skirts are easy to make, only require one size of ring and they look pretty neat too. I priced these out at TRL with SC Al rings, small Al scales along with a bag of votive candles from Walmart or Target, the cost per skirt was less than $2 CDN. The nice thing for me is that these skirts only use one ring size, whereas most other patterns I've seen require at least two rings sizes. Check my notes at the bottom for build tips.
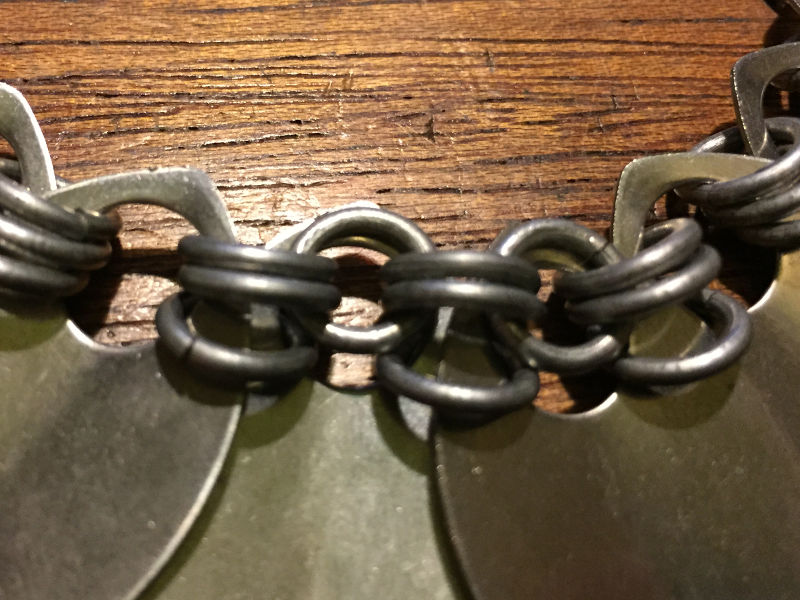
This one is made from saw cut galvanized steel rings which are ugly, heavy and magnetic, it was the only 0.065" wire I had on hand. Outside of mild steel, almost any other metal will look better than these rings.
Materials required to build one skirt:
-165 rings, WD 16g or 0.065", ID 1/4" or 0.25", AR 3.8
-15 small scales, these are small stainless scales from TRL. They measure 1.413 x .878 with a .342 hole.
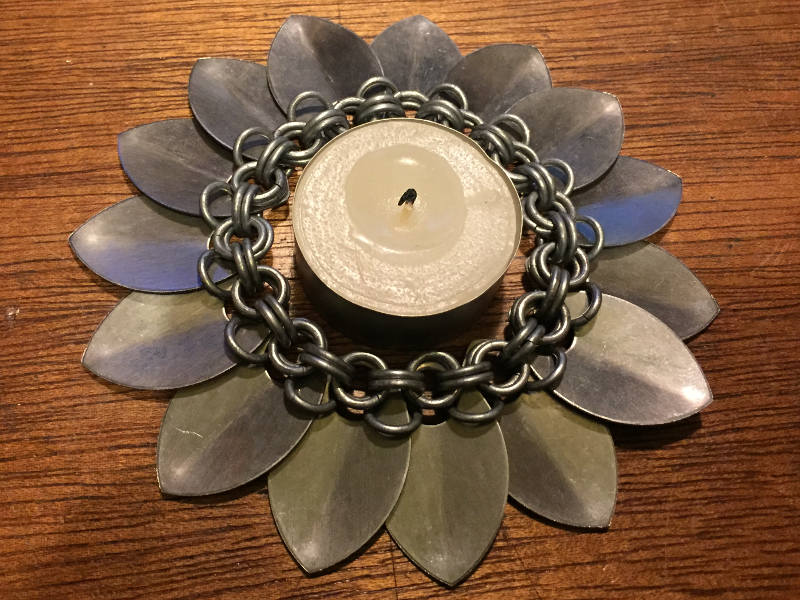
-1 votive candle, you can buy them just about anywhere. The ones I'm using here are cheap little votive candles, 1.5" wide and 0.75" tall in an aluminium jacket or sleeve.
Assembly:
Step 1:
Pre-open all of the rings.Step 2:
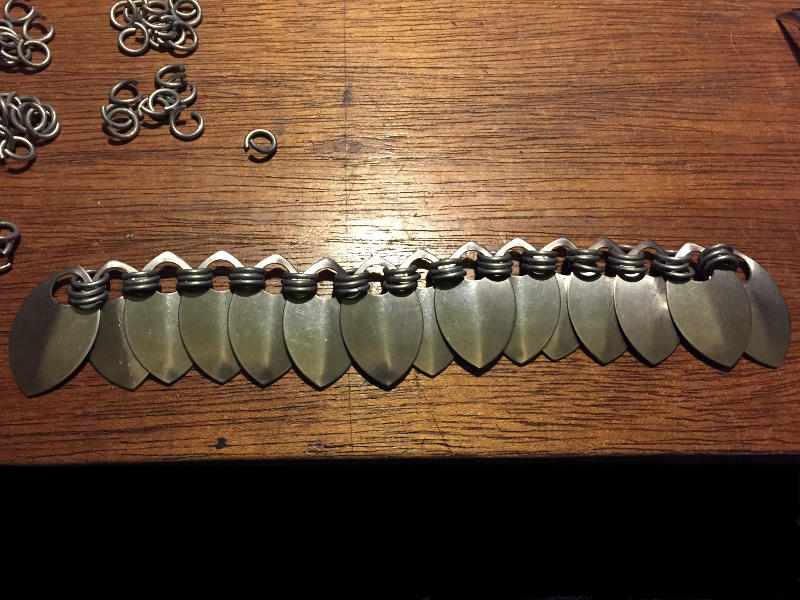
Connect the scales to each other in a row with three connector rings.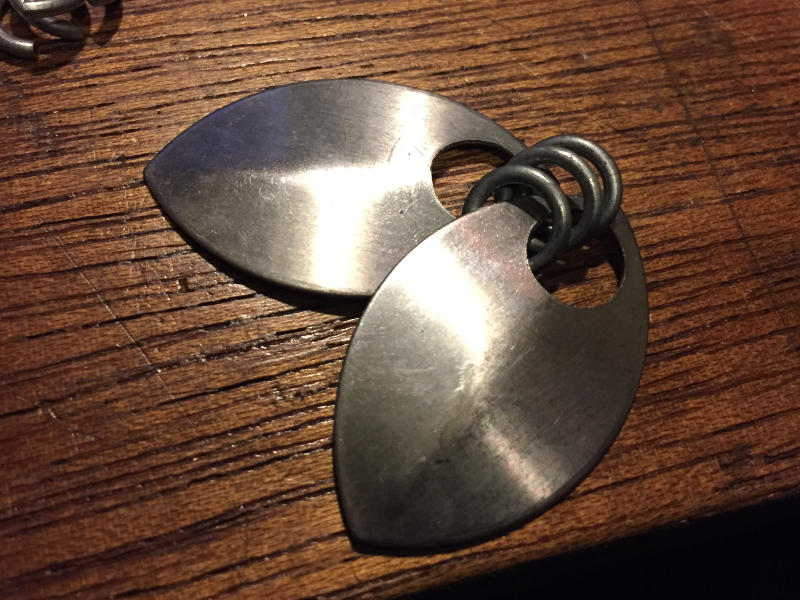
Keep going until all 15 scales are connected.
Step 3:
Loop around and connect the last scale to the first, forming a circle or loop.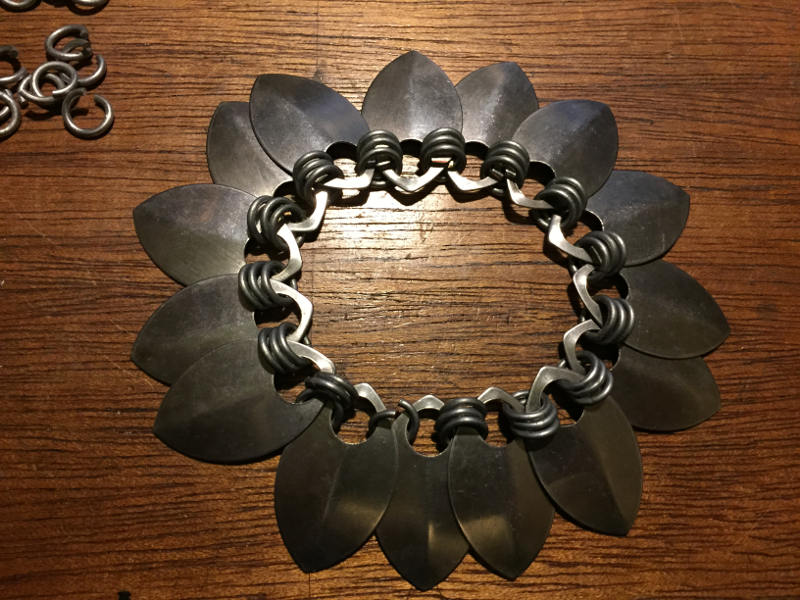
Step 4:
This is an easy one, flip it over.
Step 5:
With the loop of scales now facing upwards, pass a new ring between the two inner most rings on a scale then connect them to the same two inner rings on the scale next to it.
Keep adding them
until you've gone all the way around.

Step 6:
Add another ring in the same locations as you did in step 5, doubling those rings.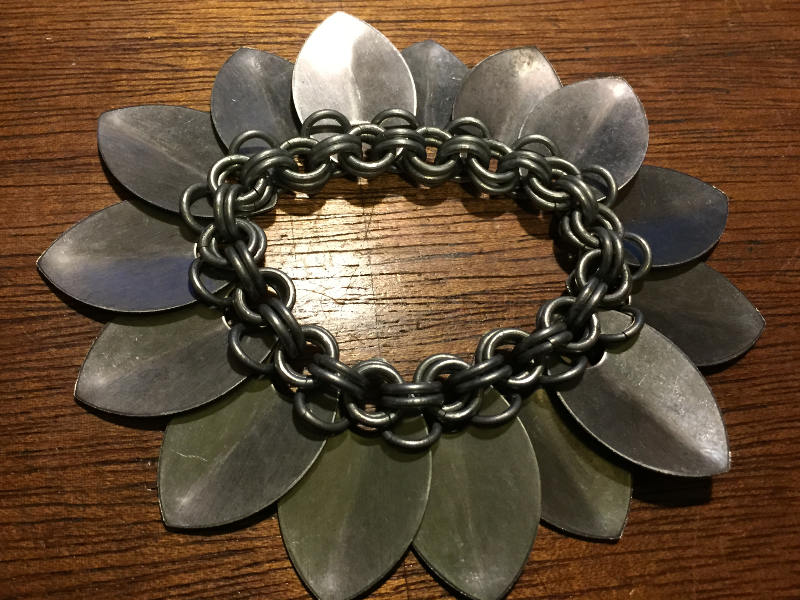
You'll now have a loop of scales connected by a strip of 4-2 with an extra ring on the outside.
As you can see it doesn't fit the candle at this point, we'll fix that soon enough.
Step 7:
Adding the first row of E4-1 (European 4 in 1). We start adding rings to the outside of the 4-2, in an E4-1 fashion.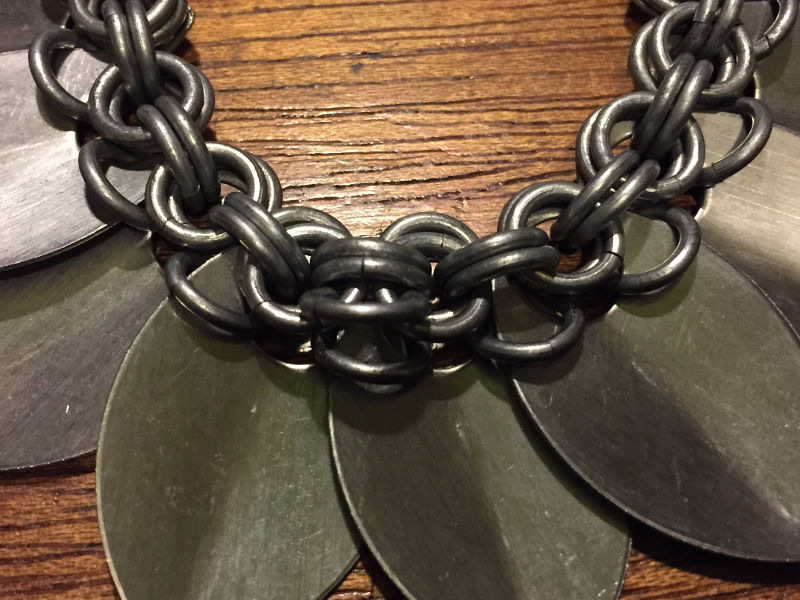
Keep adding rings till that row is finished and you should have something like this.

Step 8:
Row two of the E4-1 is just adding to the previous one.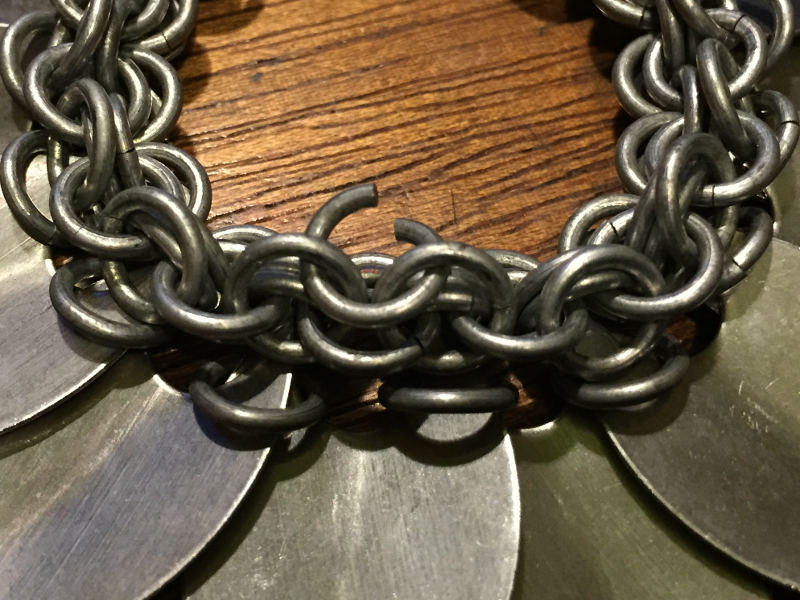
As before keep going fourteen more times to finish the row.
Step 9:
Row three is more of the same but this time we want the new rings to be on the inside of the weave.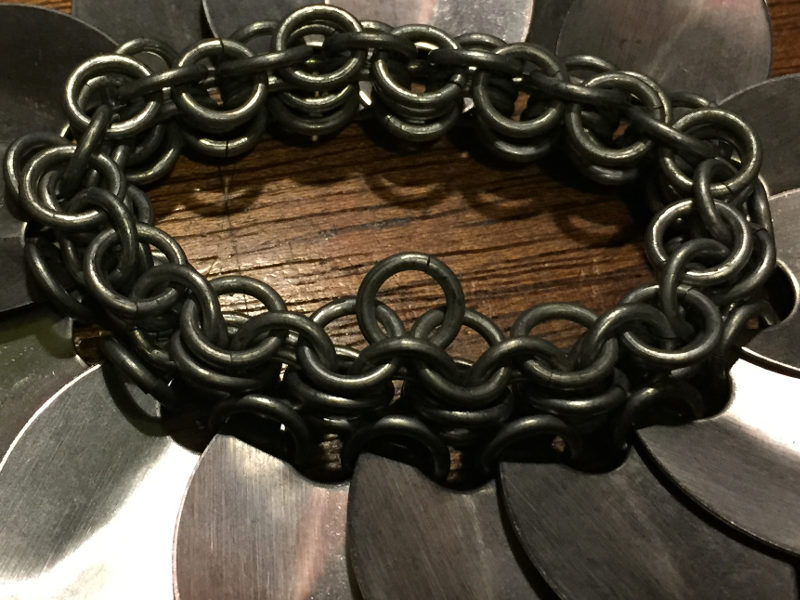
Once that row is finished it should be looking like this.
Step 10:
At this point the third row will be standing near vertical. Add a ring going between one of the top horizontal rings on the second row to the extra third ring below it at the scale.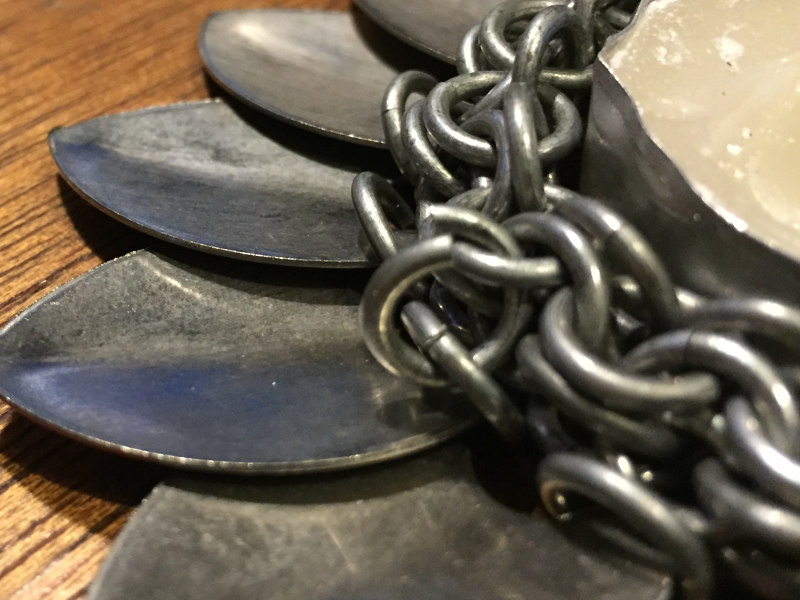
Attach it to the right for a clockwise lay to the shag or attach left for a counter-clockwise lay. Repeat all the way around.
Step 11:
Now add a second ring to the ones you just added, when doing so you'll need to pull the top row of E4-1 rings upwards or you won't have room for the second ring.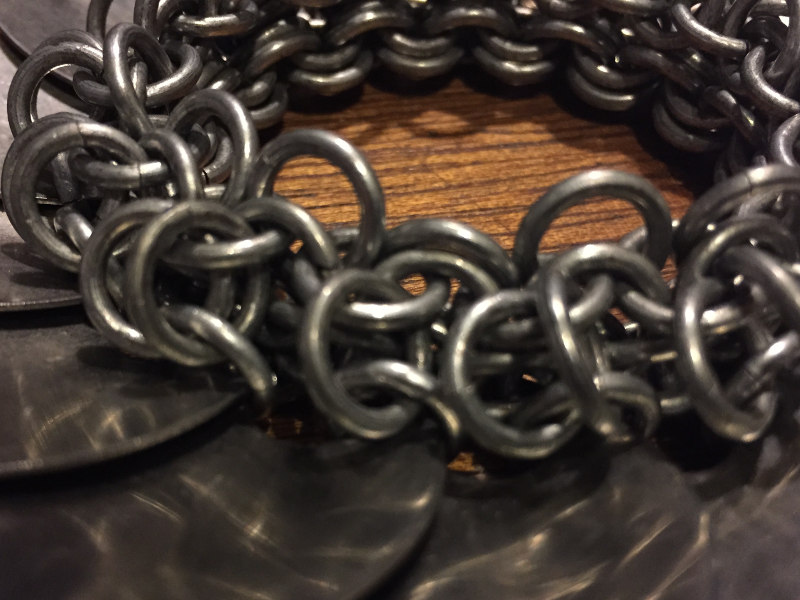
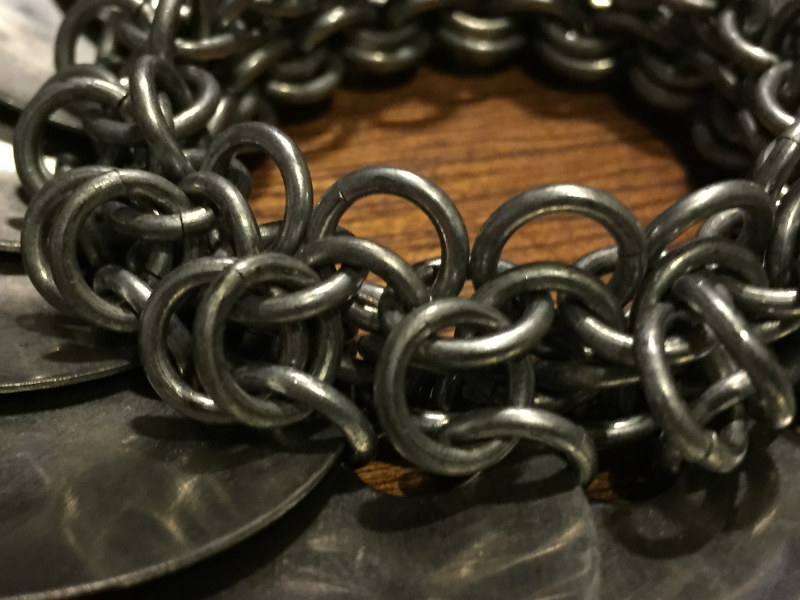
Adding the second ring will pin the top row of E4-1 in-place with a small staircase effect between the E4-1 ring edges.
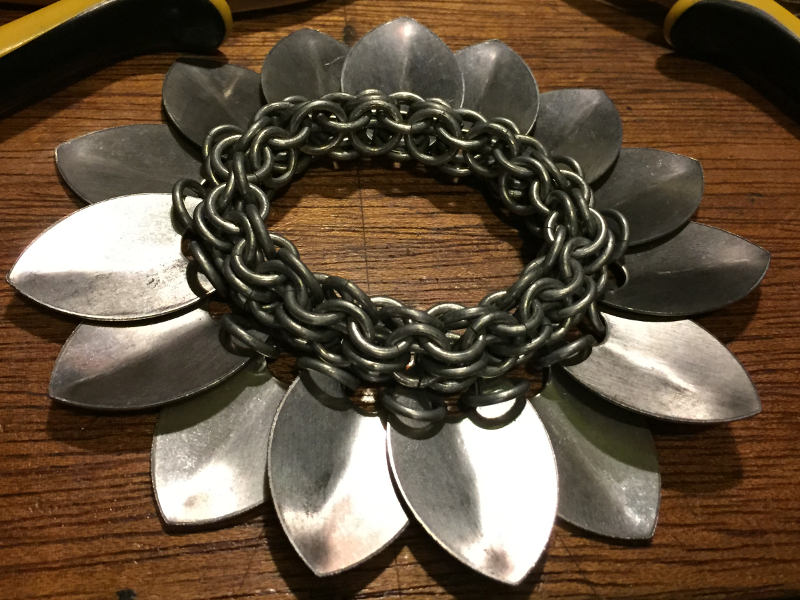
Step 12:
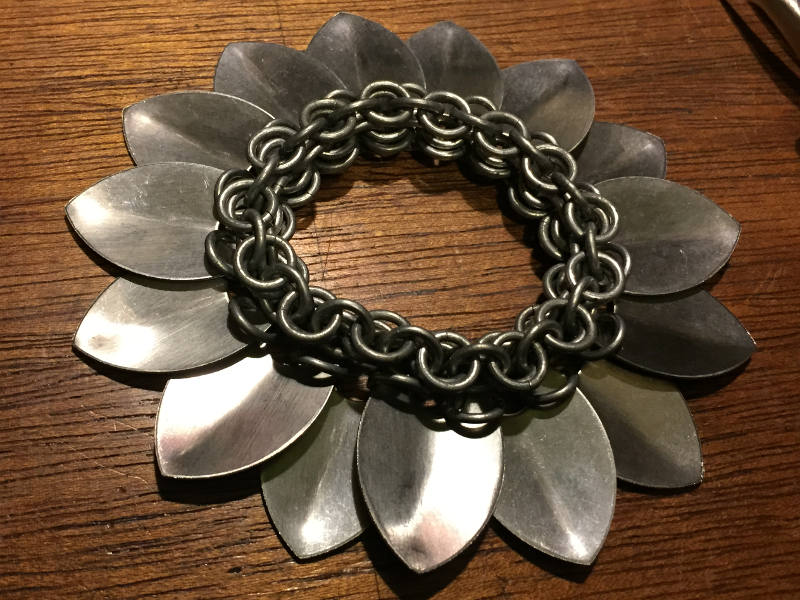
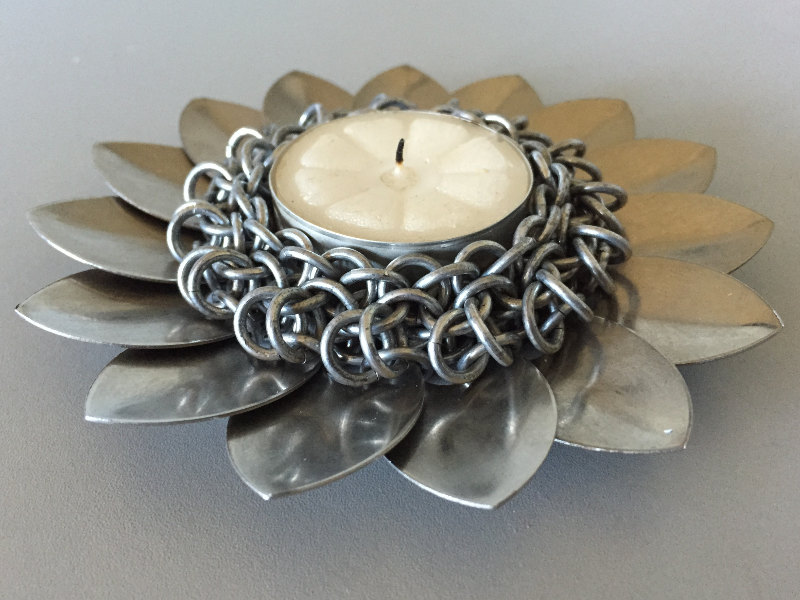
Add another row of E4-1 on top to make it taller. Once the fourth row is on it should look like this.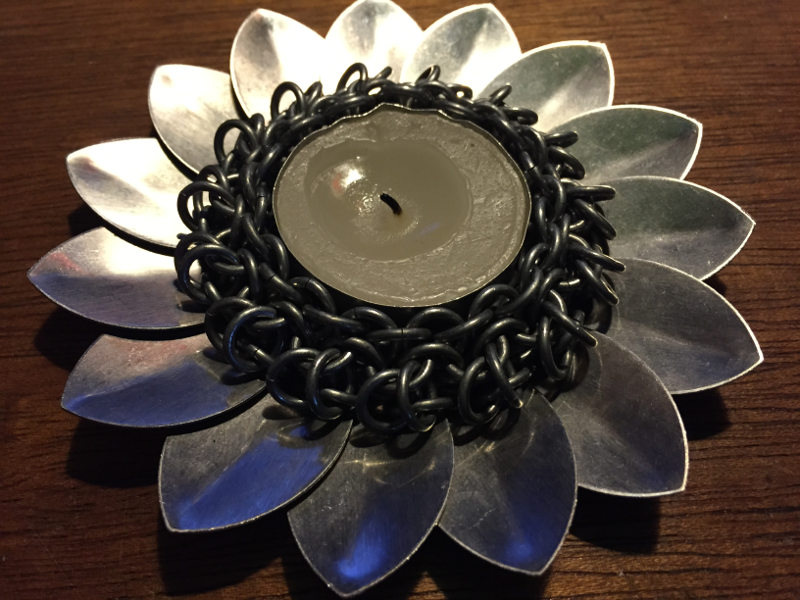
Step 13:
There is no step 13, you're done.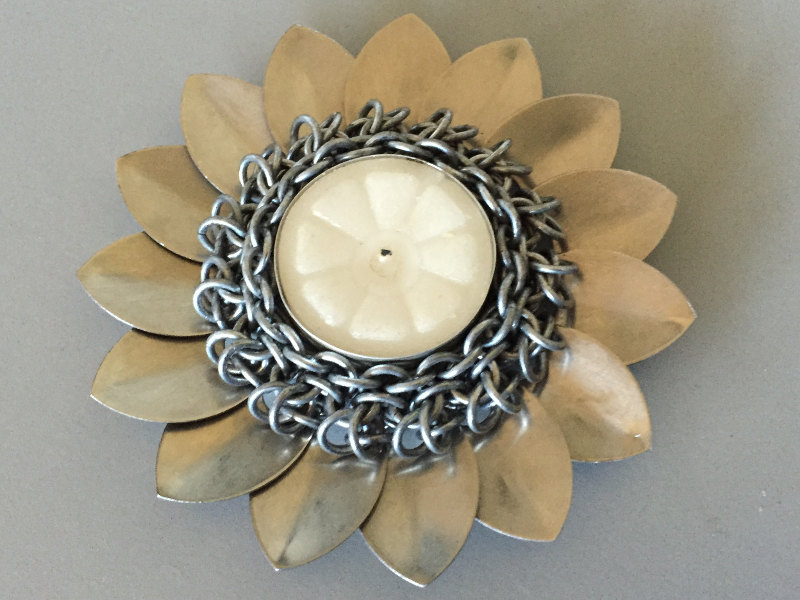
Notes:
-Alternating from weaving on the inside going counter-clockwise to weaving on the outside going clockwise per E4-1 row can make connecting the rings much easier.
-As you surely noticed the they have no bottom, this could be a problem for some. You can pick up the skirt by the scales, when you lift, it pinches the candle and it stays with the skirt. Safety first, don't move a burning candle.
-The sequence of the scales, top clockwise, counter-clockwise or an alternation of both can be changed at any time with the correct wiggle of adjoining scales when flipped over. there is just enough room to slip one scale over the other. While you can adjust them, I'd suggest doing so before step 7.
-I first built a few of these last year using slightly smaller rings with an AR of 3.75 and posted about them over here.
I hope you enjoy them.
Levi
Original URL: http://www.mailleartisans.org/articles/articledisplay.php?key=754
