
Submitted ByEdit Dates
Date Uploaded: September 18, 2011, 9:49 pm Last Edited: December 15, 2012, 10:57 pm |
 Add to Add toSite Favourites Print this Article |
European 10 in 1
Article © MAIL User: Chainmailbasket_com
This article demonstrates how to construct the European 10 in 1 weave. If you already know the European 4 in 1 and European 6 in 1 and/or European 8 in 1 weaves, then you already know this weave and probably don't need this tutorial. 10 in 1 is very dense weave which can be used for chainmail sculpture and basketry, among other things.
The rings used in this demonstration are those of .048" (18 SWG / 1.22mm) 5/16" (7.94mm) stainless steel wire (alloy 304, 1/4 hard). These rings have an AR of 7.4, based on measured data.
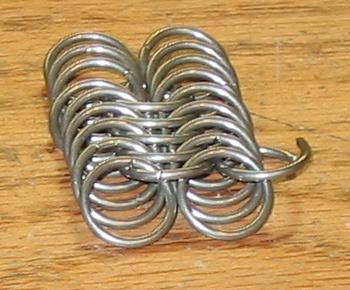
1. Add 10 closed rings to one open ring, then close.
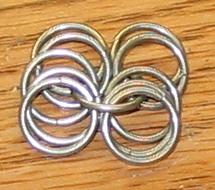
2. Add one open ring to eight of the rings in the previous step and add two closed rings, then close.
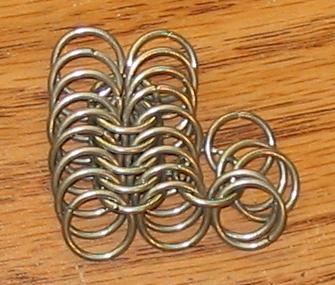
3. Repeat step two for the next connection.
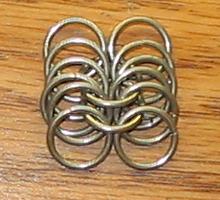
4. Once you have woven five open rings and 18 closed rings, the weave starts to take its shape.
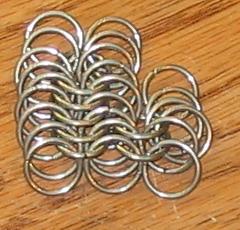
5. Place one open ring through five adjacent rings in the previous row.
6. Add five closed rings to the open ring, then close.
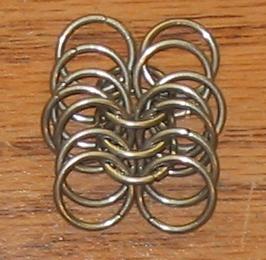
7. Add one open ring to five rings in the previous row and add one closed ring, then close.
8. Repeat step seven for the next connection.
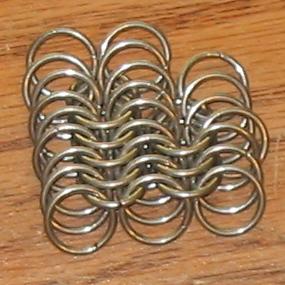
9. Add a few more open and closed rings and you have a small piece of European 10 in 1 weave.
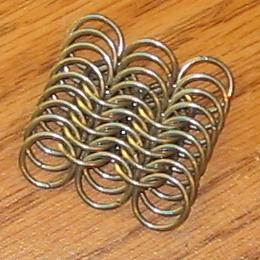
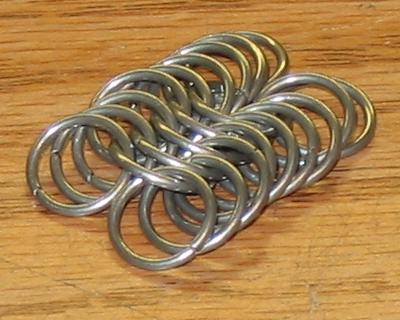
I like to hold the weave up like this when I construct it to make it easier:

The rings used in this demonstration are those of .048" (18 SWG / 1.22mm) 5/16" (7.94mm) stainless steel wire (alloy 304, 1/4 hard). These rings have an AR of 7.4, based on measured data.
1. Add 10 closed rings to one open ring, then close.
2. Add one open ring to eight of the rings in the previous step and add two closed rings, then close.
3. Repeat step two for the next connection.
4. Once you have woven five open rings and 18 closed rings, the weave starts to take its shape.
5. Place one open ring through five adjacent rings in the previous row.
6. Add five closed rings to the open ring, then close.
7. Add one open ring to five rings in the previous row and add one closed ring, then close.
8. Repeat step seven for the next connection.
9. Add a few more open and closed rings and you have a small piece of European 10 in 1 weave.
I like to hold the weave up like this when I construct it to make it easier:
Original URL: http://www.mailleartisans.org/articles/articledisplay.php?key=414
