
Submitted ByEdit Dates
Date Uploaded: February 9, 2004, 10:29 pm Last Edited: January 7, 2015, 10:24 am |
 Add to Add toSite Favourites Print this Article |
Half Persian 4 in 1
(Using Stabilizing Wire)
Article © MAIL User: cohort
Half Persian 4 in 1
Hopefully, this tutorial will help ease the first couple of attempts for those who don't already know how to weave it in their sleep ;)
The rings used here were made with 1.2mm aluminum wire wrapped around a 1/4" (6.4mm) mandrel, with a final measured diameter of 6.8mm, for an AR of 5.66.
First thing, make up a bunch of closed rings. You will need at least 7 closed rings to follow along with me..
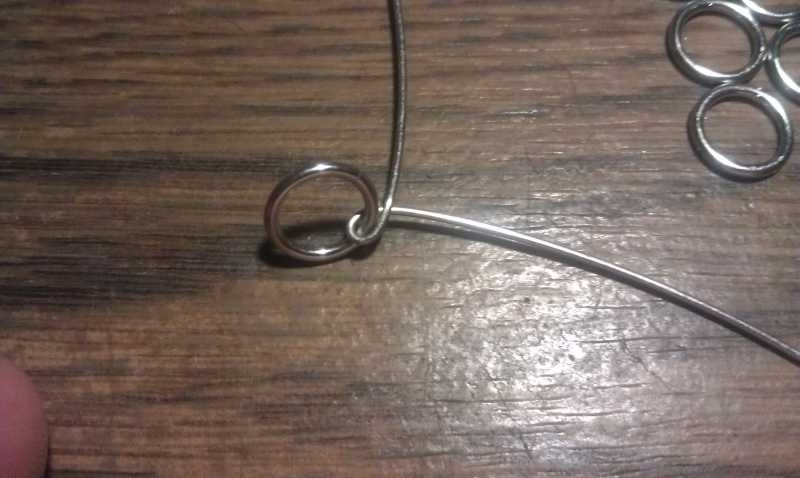
Get a small piece (3 inches or so) of "craft wire" or similar (I'm using some .8mm aluminum in the pictures) to use as a handle.
Wrap the wire around the first closed ring in a single loop, roughly centered on the wire:
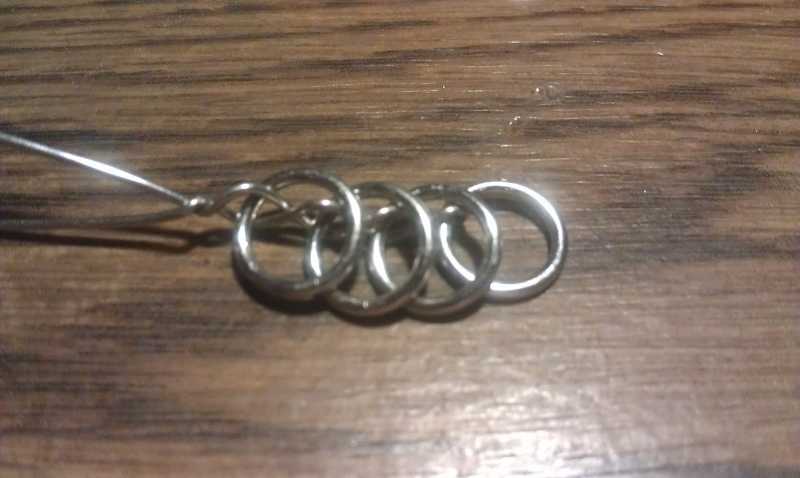
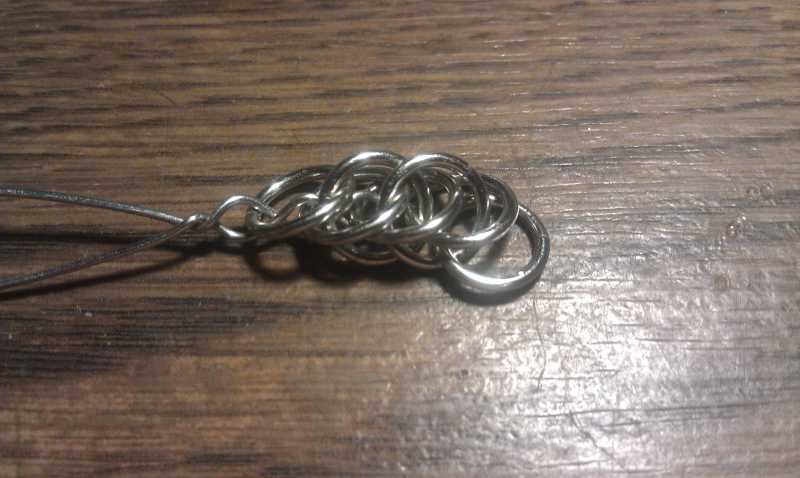
Thread a new ring on and give the wire a twist to hold it in place. Do this so you have 4 captured rings:
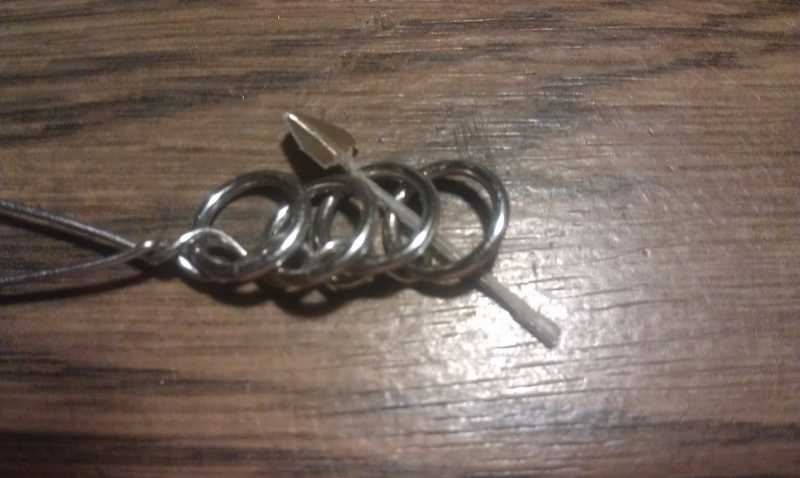
This will give you a "handle" in case the weave "falls open" while you're working it. Just pick it up by the wire and give it a shake. Gravity will put the rings back in place.
Next, thread a single open ring through the closed rings following the piece of twist tie wire I've used as a marker:
Up:
Then down:
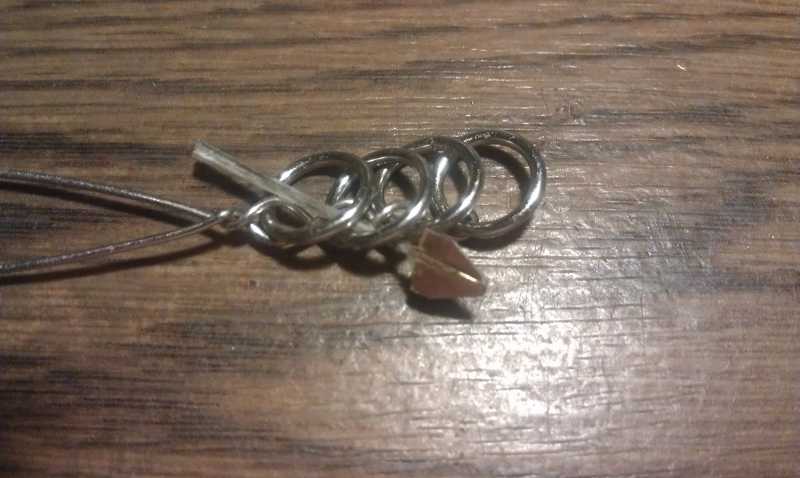
Picture with the fifth ring added (kinda hard to see in this view though):
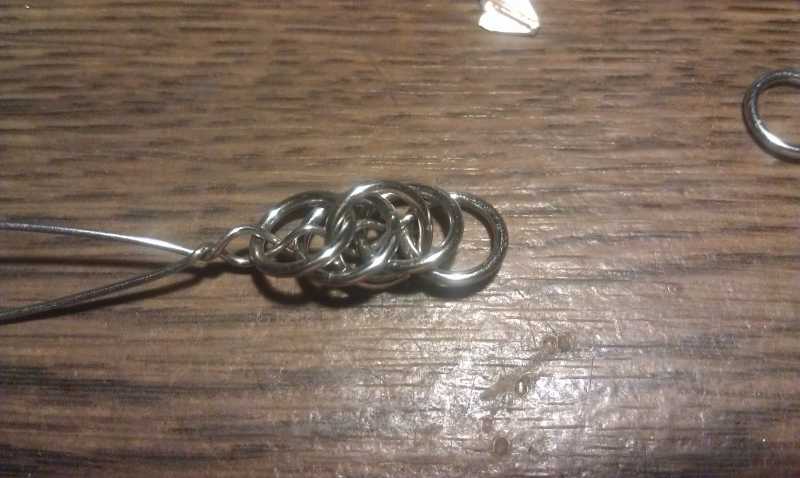
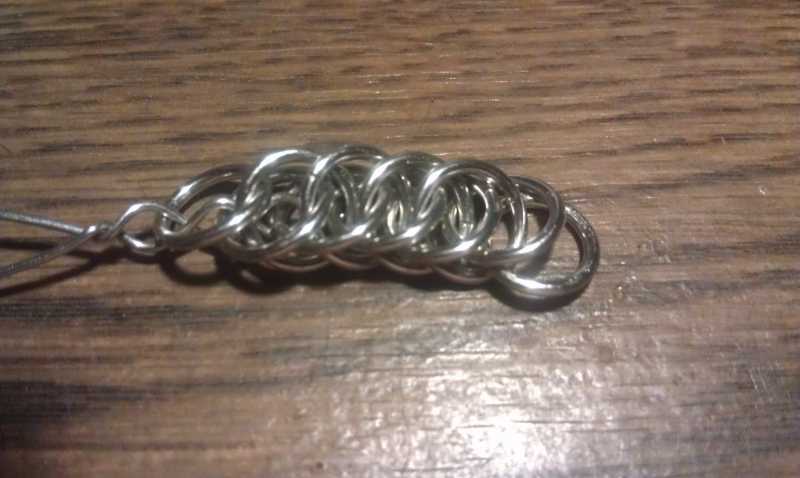
Take a closed ring and place it on an open one, then weave up through one and down through two (note the fifth ring just added is behind where we put the new open ring):
Up:
Then down:
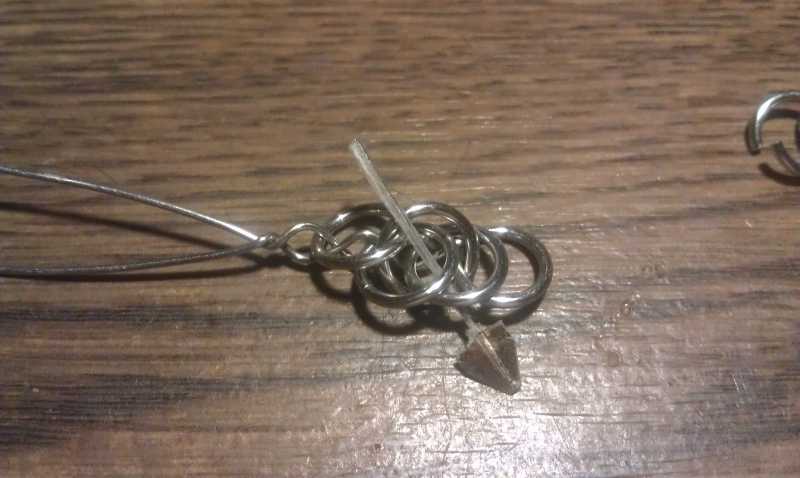
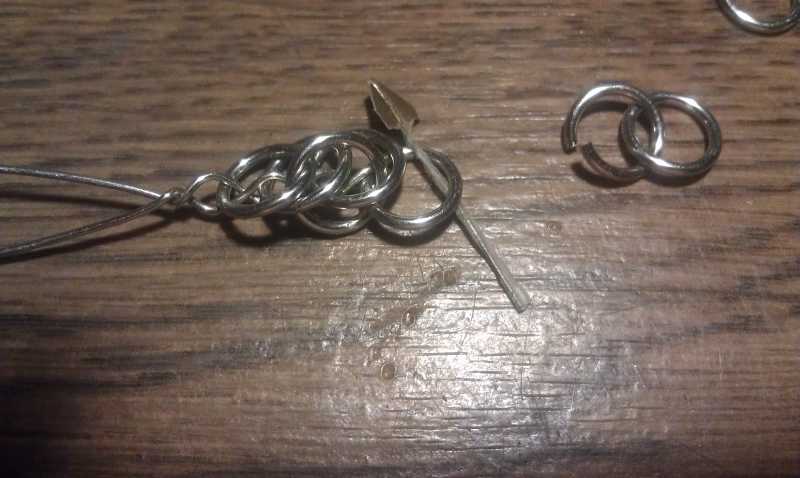
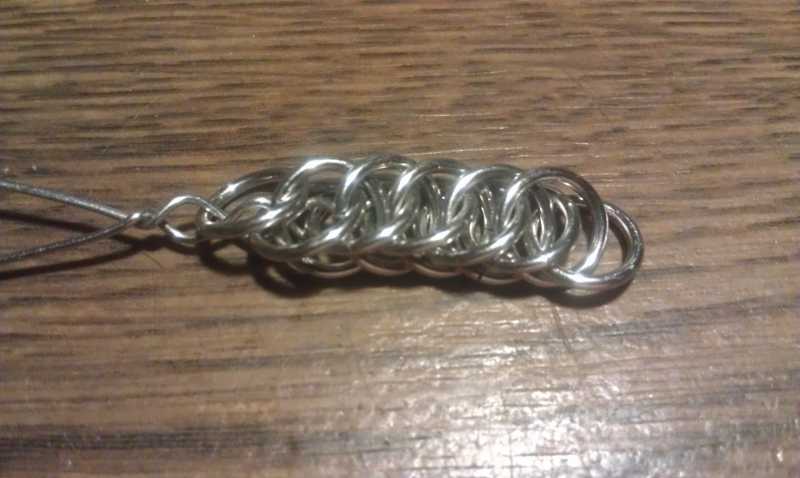
Repeat this last step a couple times (or even go ahead and make it the length of the finished piece if you like).
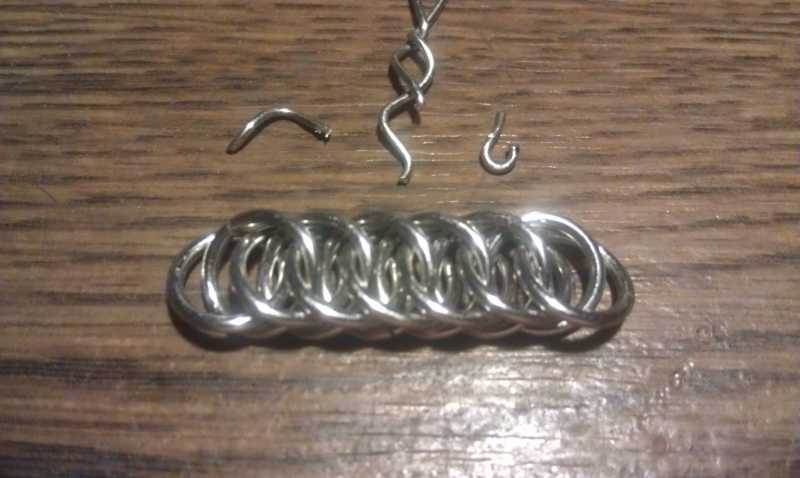
When you've gotten to the length you want, add a single open ring like above, but leave off the closed ring.. Up through one, down through two.
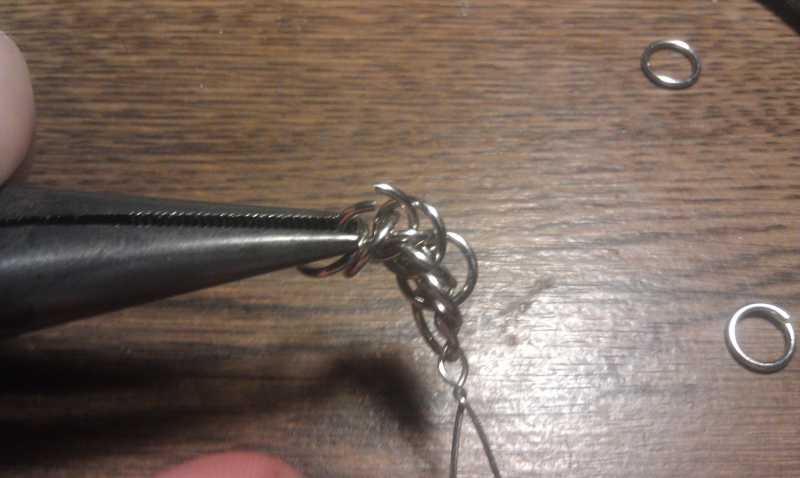
Then just snip the handle free from the other end and put in a finishing ring (up one, down two) to cap it off, and add your favorite clasp :)
Hopefully, this tutorial will help ease the first couple of attempts for those who don't already know how to weave it in their sleep ;)
The rings used here were made with 1.2mm aluminum wire wrapped around a 1/4" (6.4mm) mandrel, with a final measured diameter of 6.8mm, for an AR of 5.66.
First thing, make up a bunch of closed rings. You will need at least 7 closed rings to follow along with me..
Get a small piece (3 inches or so) of "craft wire" or similar (I'm using some .8mm aluminum in the pictures) to use as a handle.
Wrap the wire around the first closed ring in a single loop, roughly centered on the wire:
Thread a new ring on and give the wire a twist to hold it in place. Do this so you have 4 captured rings:
This will give you a "handle" in case the weave "falls open" while you're working it. Just pick it up by the wire and give it a shake. Gravity will put the rings back in place.
Next, thread a single open ring through the closed rings following the piece of twist tie wire I've used as a marker:
Up:
Then down:
Picture with the fifth ring added (kinda hard to see in this view though):
Take a closed ring and place it on an open one, then weave up through one and down through two (note the fifth ring just added is behind where we put the new open ring):
Up:
Then down:
Repeat this last step a couple times (or even go ahead and make it the length of the finished piece if you like).
When you've gotten to the length you want, add a single open ring like above, but leave off the closed ring.. Up through one, down through two.
Then just snip the handle free from the other end and put in a finishing ring (up one, down two) to cap it off, and add your favorite clasp :)
Original URL: http://www.mailleartisans.org/articles/articledisplay.php?key=174
